Finding the perfect skin for your favorite CS2 weapon often feels just out of reach with game limitations and high marketplace prices. For American, European, and Canadian players hoping to customize their loadouts quickly, Dropskin offers a simple account creation and rapid access to lucrative case openings, skin upgrades, and giveaways. This guide will walk you through the full process, highlighting client-side customization options that let you personalize your CS2 experience safely and creatively.
Table of Contents
- Step 1: Create Your Dropskin Account
- Step 2: Select and Access the Skin Changer
- Step 3: Apply Custom Skins to Your Inventory
- Step 4: Verify Skins in Your CS2 Game
Quick Summary
| Key Point | Explanation |
|---|---|
| 1. Create a Strong Password | Use a unique and complex password to secure your Dropskin account from unauthorized access. |
| 2. Enable Two-Factor Authentication | Activate two-factor authentication to add an extra security layer and protect your skins from theft. |
| 3. Verify Email Address | Confirm your email to ensure account ownership and receive important notifications regarding your account. |
| 4. Familiarize with Skin Changer | Explore the skin changer to browse and select customized skins, enhancing your in-game experience. |
| 5. Inspect Skins in CS2 | Always check that your applied skins display correctly in Counter-Strike 2 before playing in competitive matches. |
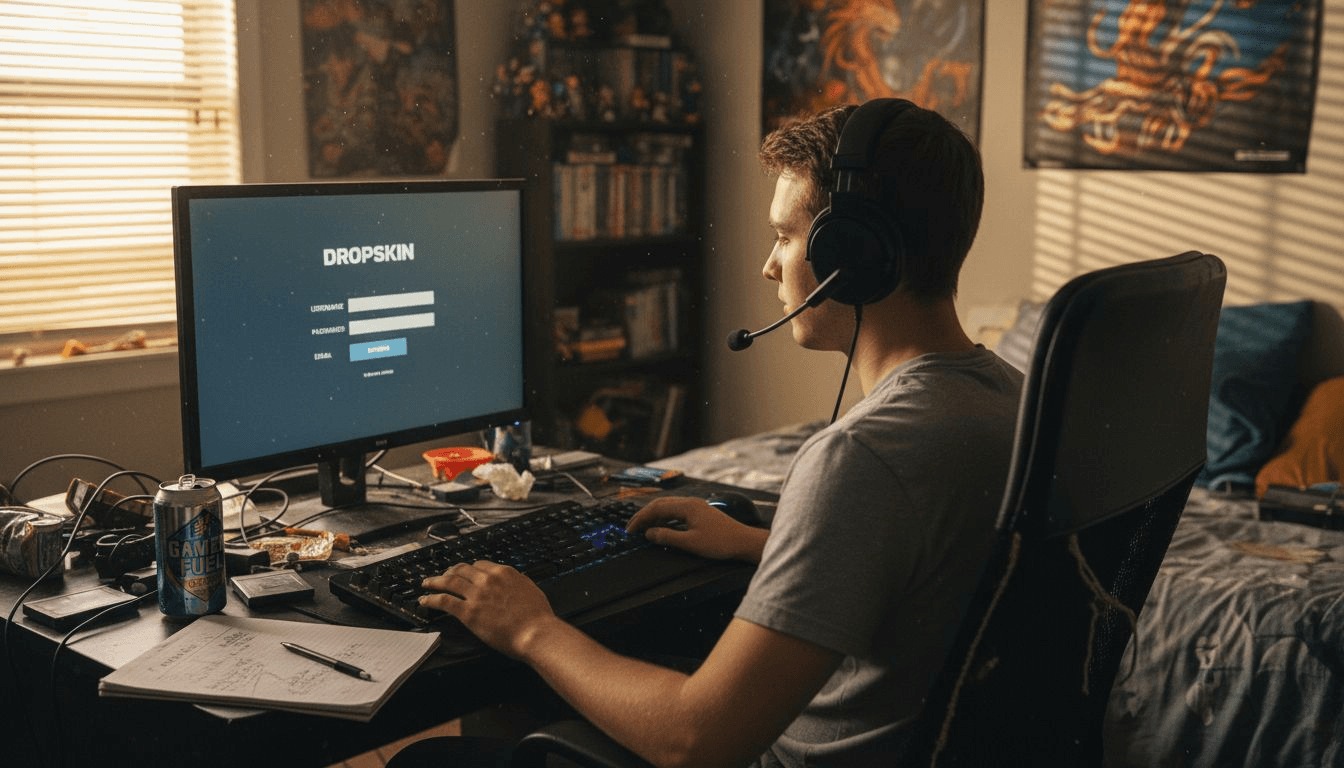
Step 1: Create Your Dropskin Account
Creating your Dropskin account is your gateway to CS2 skin upgrades, case openings, and exclusive giveaways. The process takes just a few minutes and opens up the entire platform to you.
Start by heading to the Dropskin website and locating the registration button. You'll typically find this prominently displayed on the homepage or in the top navigation menu. Click it to begin the account creation process.
Here's what you'll need to provide:
- Email address that you actively use
- Username for your Dropskin profile
- Password that's strong and unique
- Confirmation that you accept the terms of service
Enter your email carefully since you'll use this to log in and receive account notifications. Pick a username you're comfortable with since other players will see it during trades and battles. Your password should be something only you know.
Once you've filled in all fields, click the create account button. Dropskin will send a confirmation email to verify your address. Check your inbox (and spam folder, just in case) and click the verification link to complete registration.
After confirming your email, you're officially registered. Dropskin's straightforward registration process allows players worldwide to start engaging with services like case openings and skin upgrades right away. Log back in with your credentials, and you're ready to explore.
Your account is now active and ready to connect to Steam, deposit skins, and take advantage of daily promotions right from the start.
You'll notice your account dashboard has sections for your inventory, available cases, and current giveaways. Take a moment to familiarize yourself with the layout before moving forward.
Pro tip: Enable two-factor authentication on your account as soon as possible. This adds an extra security layer to protect your skins and prevents unauthorized access, even if someone discovers your password.
Here's a quick summary of Dropskin account security practices and their benefits:
| Security Feature | How It Works | User Benefit |
|---|---|---|
| Strong password | Uses complex, unique words | Prevents unauthorized access |
| Two-factor authentication | Adds a code for login | Protects skins from theft |
| Email verification | Confirms identity | Ensures account ownership |
| Confidential username | Hides real identity | Boosts privacy during trades |
Step 2: Select and Access the Skin Changer
Now that your account is set up, you're ready to access Dropskin's skin changer feature. This is where the real customization happens, letting you browse and select skins for weapons, knives, gloves, and agents.
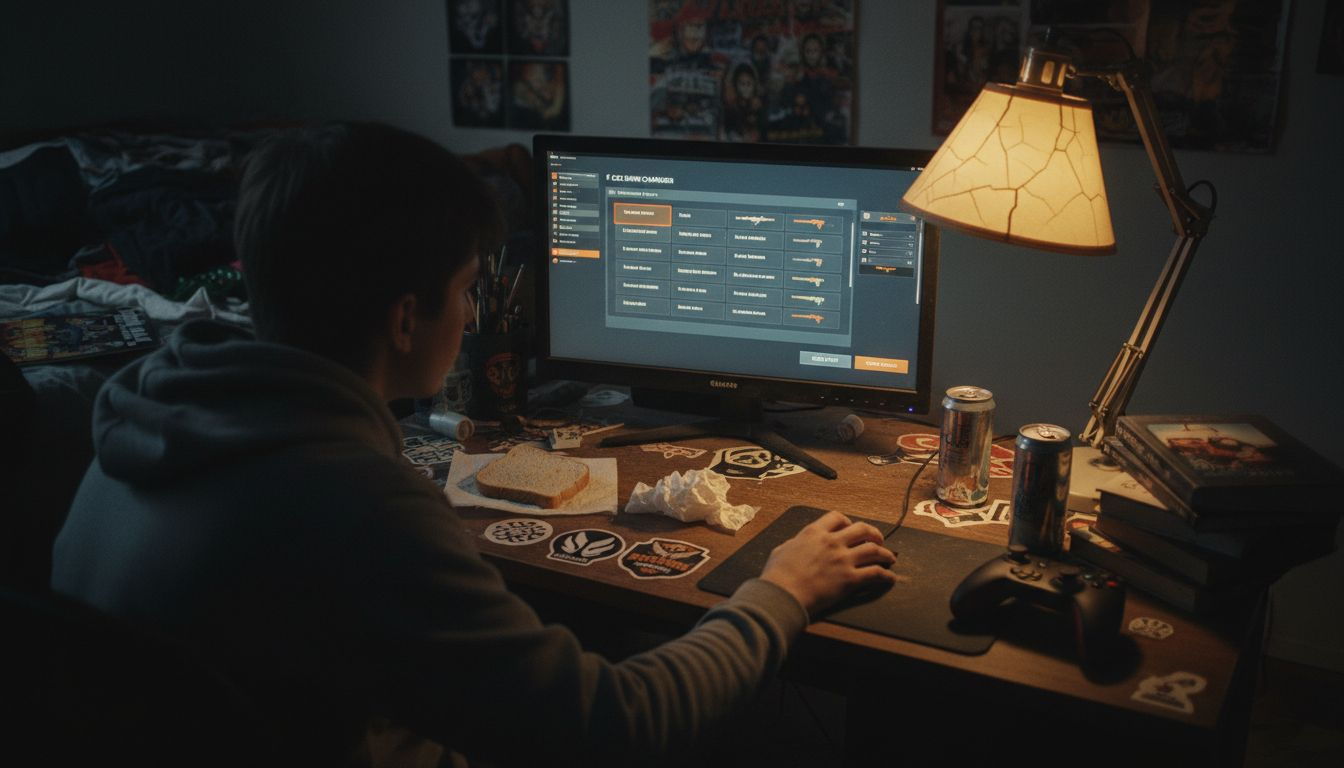
Log into your Dropskin account and navigate to the main dashboard. Look for the Skin Changer option in the navigation menu or main interface. Click it to enter the skin selection area.
Once inside the skin changer, you'll see several browsing options:
- Search bar to find specific skins by name or weapon type
- Category filters to narrow down by weapon class, knives, gloves, or agents
- Quality settings to choose skin conditions and wear levels
- Pattern and StatTrak options for additional customization
Start by selecting the weapon or item you want to customize. The browsing and selecting from a wide range of skins process becomes intuitive once you explore the interface. You can search for your favorite skins or explore trending options in each category.
Familiarize yourself with the available skins and their details. Each skin displays its quality grade, pattern, and any special properties like StatTrak. Take your time reviewing options before making selections.
The skin changer interface is designed for easy browsing, so don't rush your selection process.
Once you've found skins you like, you can add them to your cart or favorites for easier access later. Your selections are temporary until you apply them in-game.
Pro tip: Check the price filters and sort options to find high-quality skins within your budget, and use the favorites feature to save your most wanted items for quick access later.
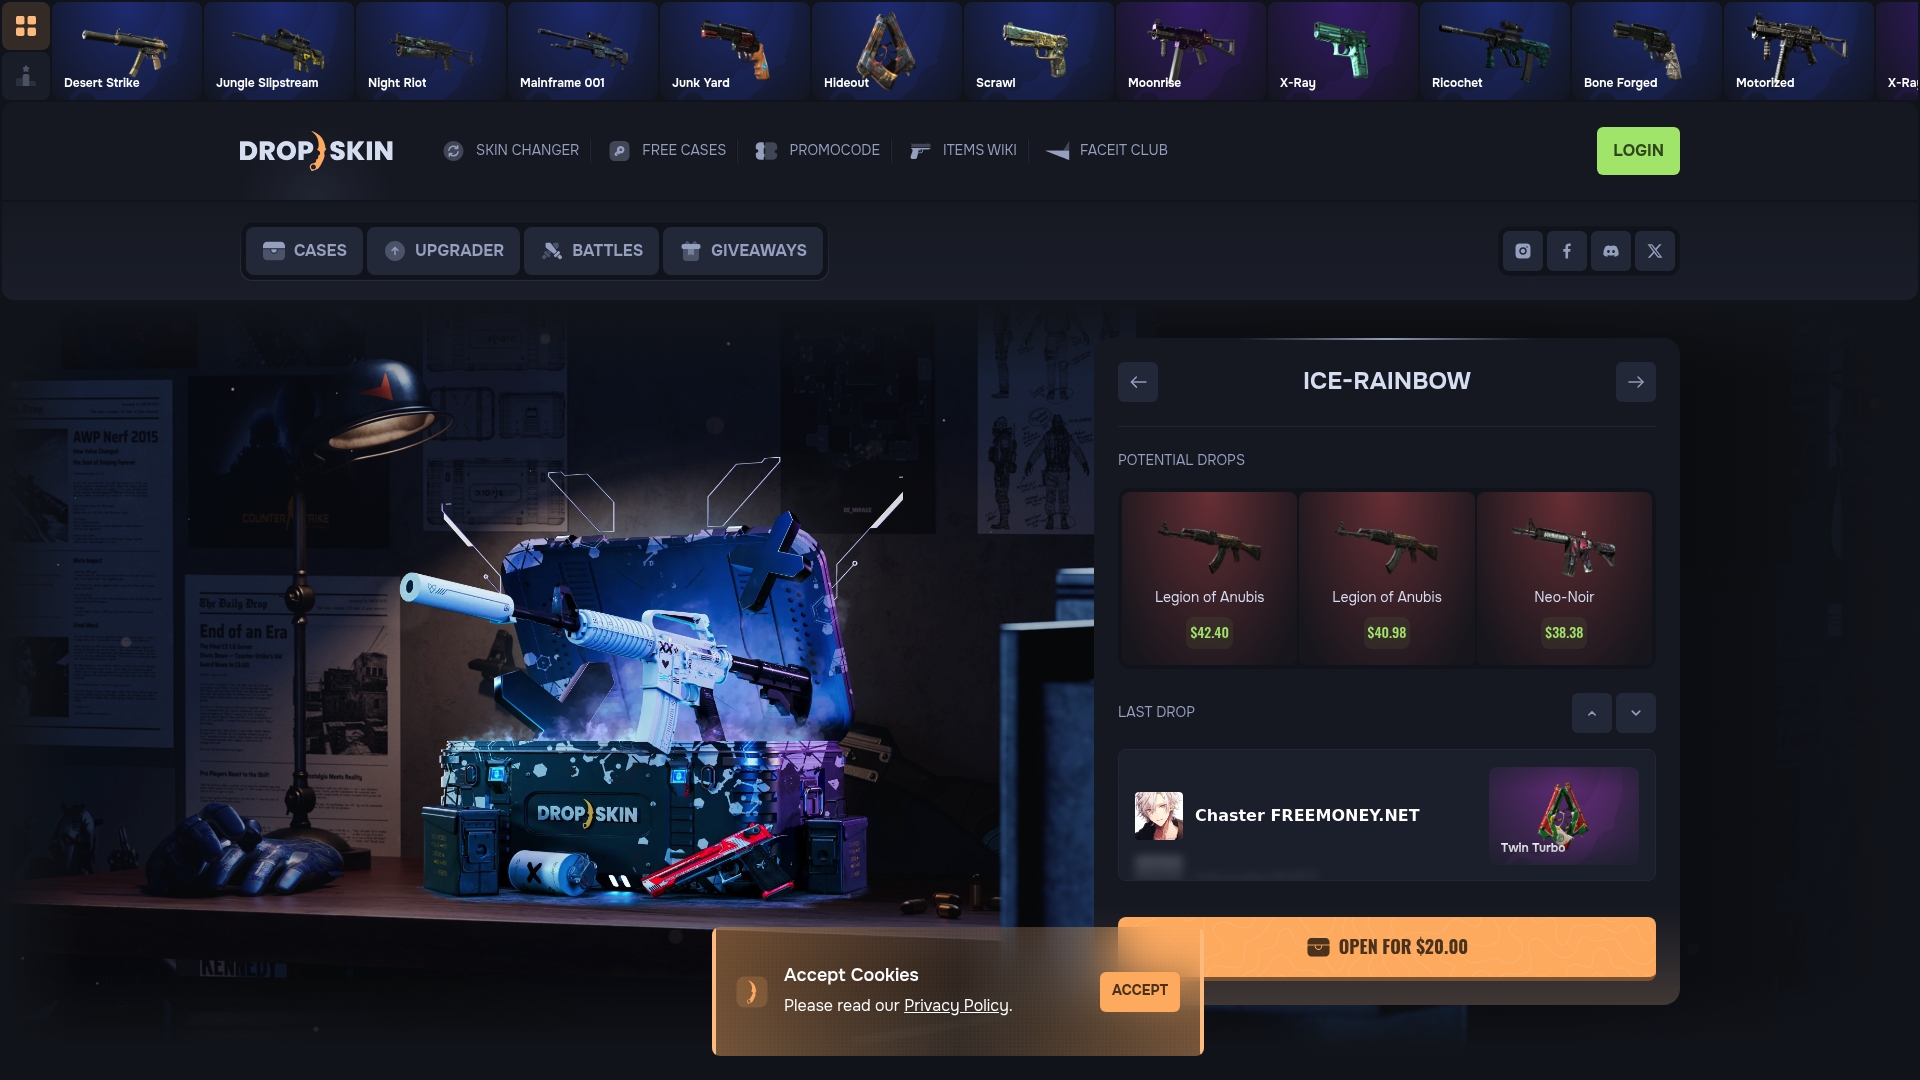
Step 3: Apply Custom Skins to Your Inventory
With your skins selected, it's time to apply them to your in-game inventory. This is where your customization becomes visible in Counter-Strike 2, giving your loadout a personalized look.
Return to your cart or favorites section where you saved your chosen skins. Select the first skin you want to apply and review its attributes before confirming. You can customize several properties at this stage.
Here's what you can adjust before applying:
- Color and pattern options for visual customization
- Quality grades to match your preferred wear level
- StatTrak status if you want tournament-tracked statistics
- Stickers and charms to add extra flair
Once you've customized the skin to your liking, click the apply or confirm button. The skin will be applied client-side, meaning the changes appear in your game client but don't affect your actual Steam inventory or other players' views.
You can apply custom skins directly to your in-game inventory by selecting desired skins and customizing attributes like color, pattern, and quality. Repeat this process for each weapon, knife, gloves, or agent you want to customize.
Your application changes take effect immediately in your game. Launch CS2 and equip your new skins to see them in action during matches and casual play.
Client-side application means your customizations are personal to your game experience and completely safe to use.
You can switch between different skin setups anytime without losing your original inventory items. Your Steam inventory remains unchanged while you enjoy fully customized aesthetics.
Pro tip: Save multiple skin configurations with different themes so you can quickly switch between tournament-ready setups and casual play looks without reapplying each skin individually.
Compare skin changer customization options and their impact on gameplay:
| Customization Type | What It Changes | Effect on Game Experience |
|---|---|---|
| Color and pattern | Visual design | Unique personalized appearance |
| Quality grade | Wear level of item | Matches preferred style |
| StatTrak feature | Tracks tournament stats | Displays performance milestones |
| Stickers/charms | Decorative additions | Adds creative flair to loadout |
Step 4: Verify Skins in Your CS2 Game
Now it's time to confirm that your custom skins are displaying correctly in Counter-Strike 2. This verification step ensures everything applied smoothly and matches your expectations before jumping into competitive play.
Launch Counter-Strike 2 and load into a match or practice mode. Navigate to your weapon inventory to inspect your equipped items in detail. Check that your selected skins appear on each weapon, knife, gloves, and agent as expected.
Here's what to verify during your inspection:
- First-person view displays skins correctly during gameplay
- Weapon models show the right patterns and colors
- Quality grades match your selected wear levels
- StatTrak counters or special effects function properly
- Sticker placements and charms appear as intended
Verification of custom skins in CS2 can be done by launching the game and inspecting weapon models during gameplay or in your inventory view. Since your changes are client-side, only you see these skins in your game experience.
Fire up a deathmatch or casual match to see your skins in action. Equip different weapons and angles to verify they look good from various perspectives. Check your inventory screen to confirm everything displays without glitches.
Your custom skins are personal to your game client, so no other player will see the same modifications you're viewing.
If you notice any issues or want to make adjustments, you can return to the skin changer and modify your selections anytime. There's no penalty for tweaking your setup until it's perfect.
Pro tip: Take screenshots or clips of your verified skins in-game to remember your favorite configurations, making it easier to recreate them later if you accidentally modify or reset your setup.
Elevate Your CS2 Experience with Dropskin's Skin Changer and More
If you are ready to transform your in-game appearance and truly personalize your Counter-Strike 2 gameplay, Dropskin.com is your ultimate destination. This platform understands the challenge of finding affordable custom skins while balancing enjoyment and security. With features like the Skin Changer highlighted in the article, along with case openings and exclusive giveaways, Dropskin offers a seamless way to upgrade your inventory and take your style to the next level without risking your valuable items.
Join the vibrant Dropskin community today and gain instant access to custom skin applications that work client-side for a unique look every match. Discover interactive battles, skin upgrades, and thrilling giveaways designed specifically for CS2 and CS:GO players. Visit Dropskin now and start customizing your loadout while turning cheap skins into legendary ones. Don’t wait—your perfect skin setup is just a few clicks away!
Frequently Asked Questions
How do I create a Dropskin account?
To create a Dropskin account, visit the Dropskin website and click the registration button. Fill in your email address, username, password, and agree to the terms of service, then click the create account button.
How do I access the Skin Changer feature?
You can access the Skin Changer by logging into your Dropskin account and navigating to the main dashboard. Look for the Skin Changer option in the navigation menu and click it to start customizing your skins.
What customization options are available in the Skin Changer?
The Skin Changer offers various customization options, including colors, patterns, quality grades, StatTrak status, and the ability to add stickers and charms. Select your desired weapon or item and personalize its features before applying the skin to your inventory.
How can I verify that my custom skins are applied in CS2?
To verify your custom skins, launch Counter-Strike 2 and check your weapon inventory. Inspect your equipped items in-game to ensure that the skins are displaying correctly with the chosen patterns, colors, and effects.
Can I change my skins after applying them in the game?
Yes, you can change your skins anytime without affecting your original inventory items. Return to the Skin Changer to modify your selections and reapply them as desired.
What should I do if my skins don't appear correctly in the game?
If your skins don't appear correctly, first ensure you have applied them as intended in the Skin Changer. If issues persist, revisit the customization options and make adjustments or reapply the skins to ensure everything is set up properly.
Recommended
- CS2 Skins Wiki - Price Check & Database | DROP.SKIN - Open CS2 Cases and Upgrade your Skins
- DROP.SKIN - Open CS2 Cases and Upgrade your Skins
- CS2 Skin Changer - Trade & Exchange Skins | DROP.SKIN - Open CS2 Cases and Upgrade your Skins
- CS2 Skin Upgrader - Upgrade Skins Online | DROP.SKIN - Open CS2 Cases and Upgrade your Skins