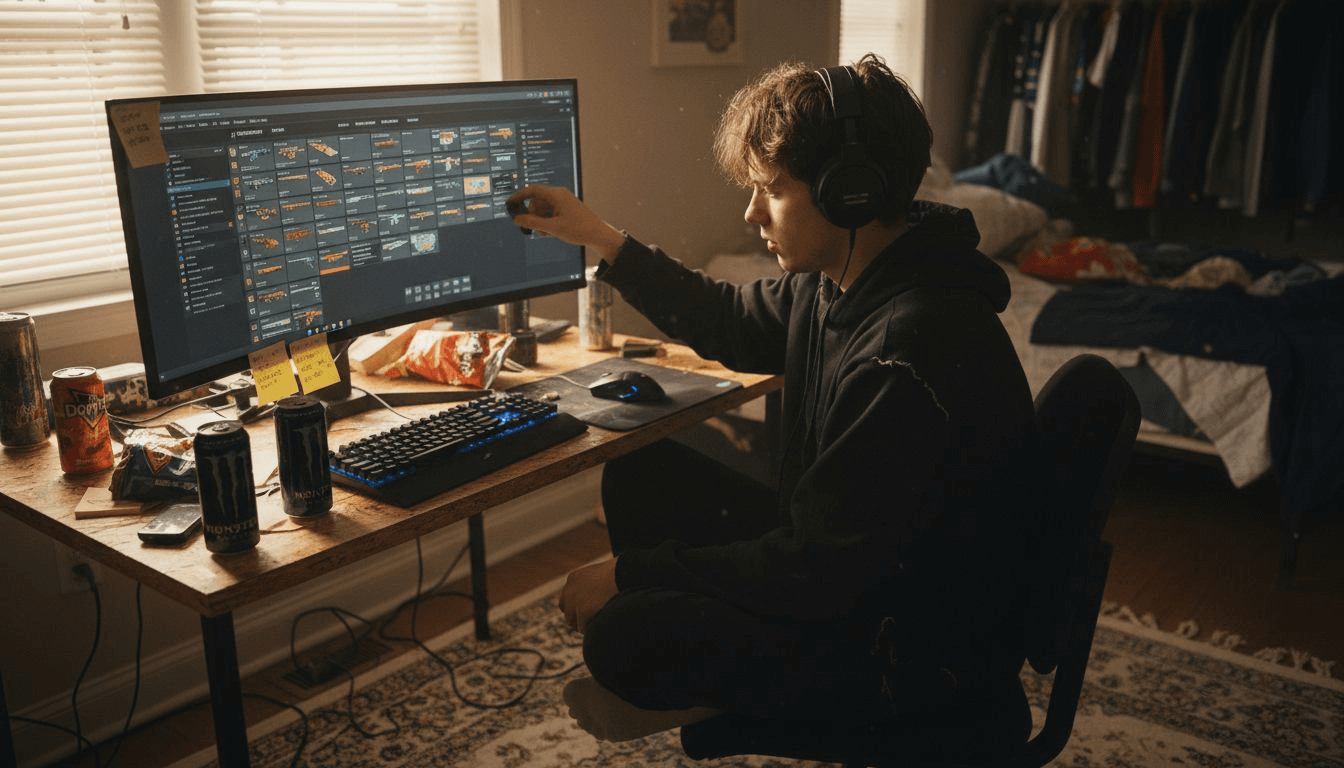
Sorting through your Counter-Strike inventory can sometimes feel overwhelming when you want the quickest way to upgrade your favorite skins. Every detail matters, from the rarity and float value of each item to finding affordable paths that actually make a difference. By mastering the art of inventory organization and strategic skin selection, you set yourself up to score better upgrades and stylish new looks without breaking the bank.
Table of Contents
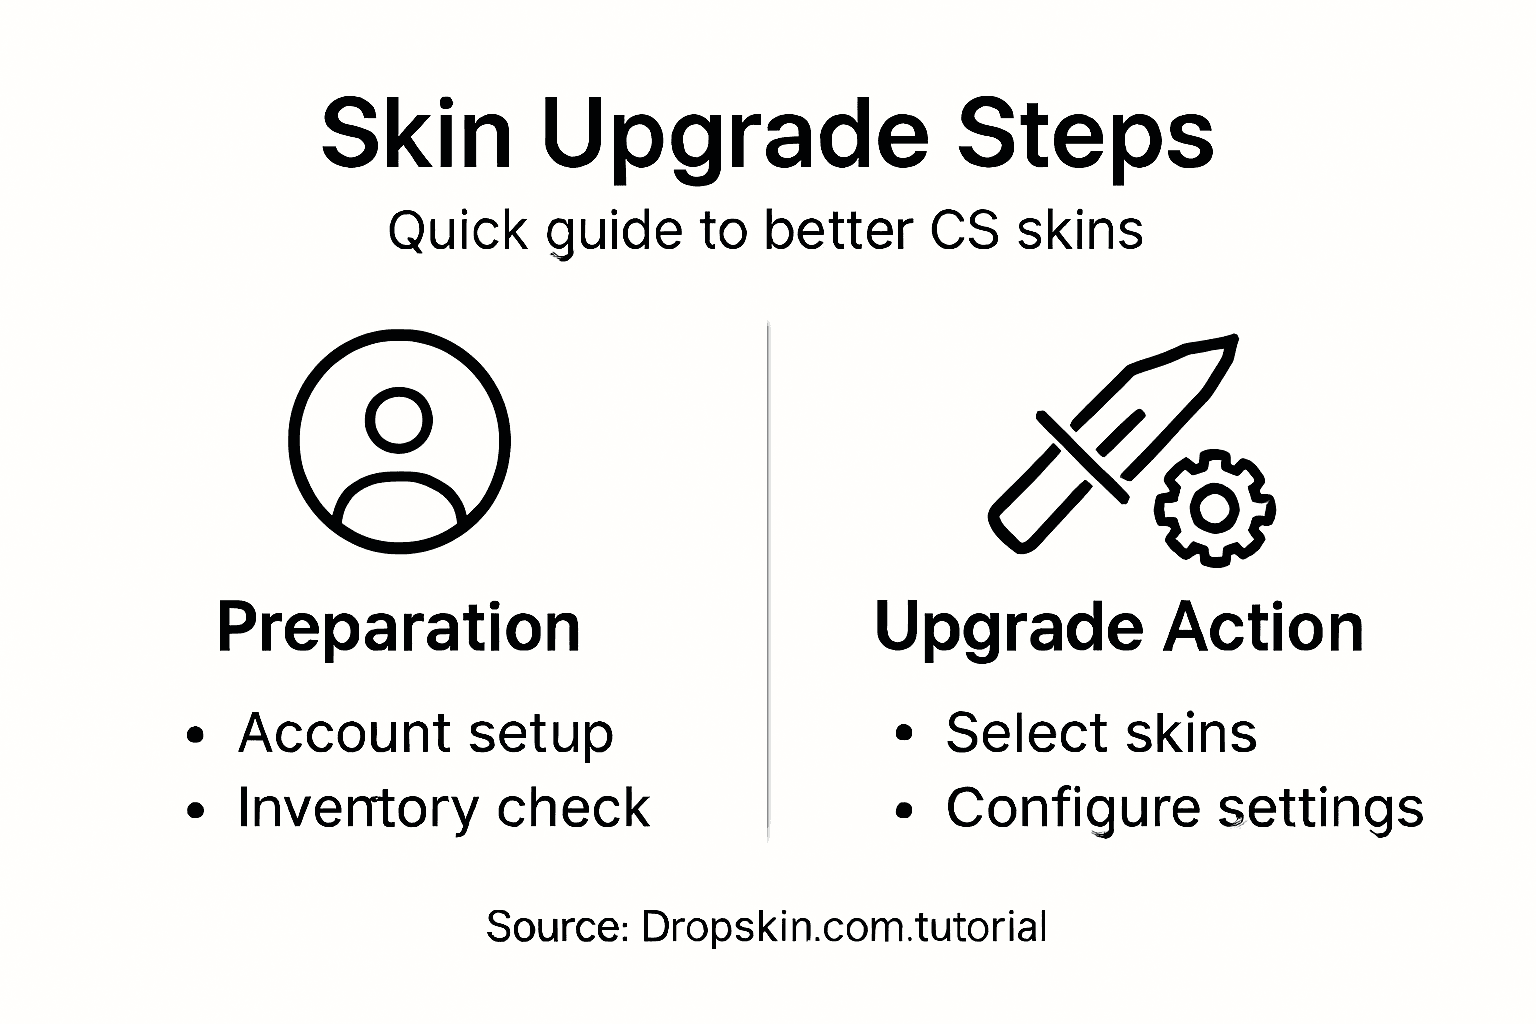
- Step 1: Set Up Your CS Account and Inventory
- Step 2: Select Skins for the Upgrade Process
- Step 3: Choose and Configure Upgrade Settings
- Step 4: Initiate the Upgrade and Place Your Stake
- Step 5: Verify Upgrade Results and Secure Your New Skin
Quick Summary
| Key Insight | Explanation |
|---|---|
| 1. Organize Your Inventory | Categorize skins by rarity and condition to enhance upgrade potential. |
| 2. Select Skins Wisely | Choose skins based on rarity, aesthetics, and wear levels for better value. |
| 3. Configure Upgrade Settings | Understand probability and fees on platforms to make informed decisions. |
| 4. Initiate Upgrades Carefully | Verify account details and skin values before placing any upgrade stake. |
| 5. Verify Results Thoroughly | Check trade offer details to confirm the success of your skin upgrade. |
Step 1: Set Up Your CS Account and Inventory
Setting up your Counter-Strike account and inventory is the essential first step in preparing for skin upgrades. This process involves organizing your existing skins and ensuring you have the right foundation for potential trades and upgrades.
Begin by accessing your Steam account and navigating to your CS2 inventory. You'll want to carefully review your current skin collection, paying close attention to the specifics of each item. Trade up contract details become crucial when planning potential skin upgrades. Understanding the nuances of skin inventory management is key to success.
Here are the critical steps for inventory organization:
- Categorize your skins by rarity and condition
- Check the float value of each skin
- Identify potential candidates for trade-up contracts
- Ensure you have multiple skins of similar quality levels
Organizing your inventory strategically will maximize your chances of successful skin upgrades. Take time to understand each skin's characteristics and potential value in trade-up scenarios.
Here's a quick reference of CS2 skin conditions and their market impact:
| Skin Condition | Typical Float Range | Market Value Impact |
|---|---|---|
| Factory New | 0.00–0.07 | Highest price, premium |
| Minimal Wear | 0.07–0.15 | High price, desirable |
| Field-Tested | 0.15–0.38 | Moderate price, accessible |
| Well-Worn | 0.38–0.45 | Lower price, less demand |
| Battle-Scarred | 0.45–1.00 | Lowest price, least sought |
Pro tip: Keep a detailed spreadsheet tracking your skin's float values, wear levels, and potential upgrade paths to streamline your inventory management process.
Step 2: Select Skins for the Upgrade Process
Selecting the right skins for your upgrade process is a strategic decision that can significantly impact your Counter-Strike inventory's value and aesthetic appeal. The goal is to transform your existing collection into a more premium set of skins through careful selection and trading.
When choosing skins for potential upgrades, consider strategic skin selection techniques that maximize your inventory's potential. Focus on several key criteria to make smart choices:
- Evaluate skin rarity and current market value
- Look for complementary color schemes and design aesthetics
- Prioritize skins with consistent wear levels
- Consider unique weapon types like gloves and knives for long-term investments
Your upgrade strategy should involve consolidating lower-value skins into fewer, higher-quality pieces. This approach allows you to create a more curated and valuable inventory. Pay special attention to float values, as they significantly influence a skin's market desirability and potential trade value.
Choosing the right skins is about balancing personal preference with strategic investment potential.
Pro tip: Always research current market trends and skin values before initiating any upgrade process to maximize your potential returns.
Step 3: Choose and Configure Upgrade Settings
Configuring the right upgrade settings is a critical step in maximizing your chances of obtaining higher-value skins. This process requires careful consideration of platform features, probability settings, and potential risks involved in skin upgrades.
Skin upgrader configuration techniques involve several strategic decisions that can significantly impact your upgrade success. When selecting your upgrade platform, pay attention to the following key factors:
- Understand probability indicators for each upgrade attempt
- Compare platform fees and transaction costs
- Review the success rate metrics for different skin tiers
- Examine the platform's reputation and user reviews
Each upgrade platform offers unique settings that allow you to customize your risk tolerance. Some platforms provide more transparent probability calculations, while others might have hidden fees or complex upgrade mechanisms. Take time to explore the specific settings and understand how they might affect your potential skin upgrade outcomes.

Compare popular skin upgrade platform features:
| Platform Feature | Transparent Odds | User Reviews | Fee Structure |
|---|---|---|---|
| SkinBaron | Clear | Positive | Low, fixed amount |
| TradeUpSpy | Detailed | Mixed | Variable, by tier |
| CS.Money | Partial | Mostly good | Fixed, moderate |
| Steam Market | None shown | Reliable | Standard Steam fee |
Your upgrade strategy should balance potential rewards with calculated risks.
Pro tip: Start with smaller, lower-value skin upgrades to understand the platform's mechanics before committing to more expensive transactions.
Step 4: Initiate the Upgrade and Place Your Stake
Placing your stake in a skin upgrade is a critical moment that requires precision, strategy, and careful consideration of potential outcomes. This step transforms your theoretical planning into an actual upgrade opportunity where your selected skins will be put to the test.
Following skin upgrade initiation protocols involves several crucial steps. Log into your chosen platform through Steam and verify your account balance meets the minimum requirements for the upgrade you want to attempt:
- Verify Steam account connection
- Check your available balance and skin inventory
- Select the specific skins for the upgrade
- Confirm the upgrade probability percentage
- Double-check selected item value
Each upgrade represents a calculated risk. The platform will display the odds of successfully trading up your current skins to a potentially more valuable item. Pay close attention to these probability indicators, as they directly influence your potential return on investment.
Successful skin upgrades blend strategic selection with calculated risk management.
Pro tip: Always screenshot your upgrade attempt and track your success rates to develop a more refined upgrading strategy over time.
Step 5: Verify Upgrade Results and Secure Your New Skin
The moment of truth arrives after your skin upgrade attempt – carefully verifying the results ensures you receive the exact skin you anticipated and protect your valuable inventory. Successful upgrades require meticulous attention to transaction details and account security.
Steam trade confirmation protocols are critical in safeguarding your new skin. Carefully review the incoming trade offer by following these essential steps:
- Inspect the trade offer screen thoroughly
- Verify exact skin details and condition
- Check the wear level matches your expectations
- Enable Steam Guard mobile authentication
- Review transaction history immediately
Pay special attention to the specific characteristics of your newly acquired skin. The trade offer screen provides comprehensive details about the item, including its exact float value, wear condition, and market potential. Take a moment to compare the received skin against your original upgrade expectations.
Precision in trade verification prevents potential inventory mistakes.
Pro tip: Screenshot every upgrade transaction and store the images in a dedicated folder to maintain a comprehensive record of your skin trading history.
Elevate Your Skin Upgrade Journey with Dropskin.com
Navigating the complexities of the skin upgrade process can feel overwhelming with so many variables like float values, wear conditions, and upgrade platform choices to consider. If you are aiming to turn your carefully selected and organized Counter-Strike skins into premium, high-value items, you need a platform that combines strategic skin upgrades with engaging and secure trading features. Dropskin.com offers a seamless solution that aligns perfectly with your skin upgrade goals while adding excitement to every step.
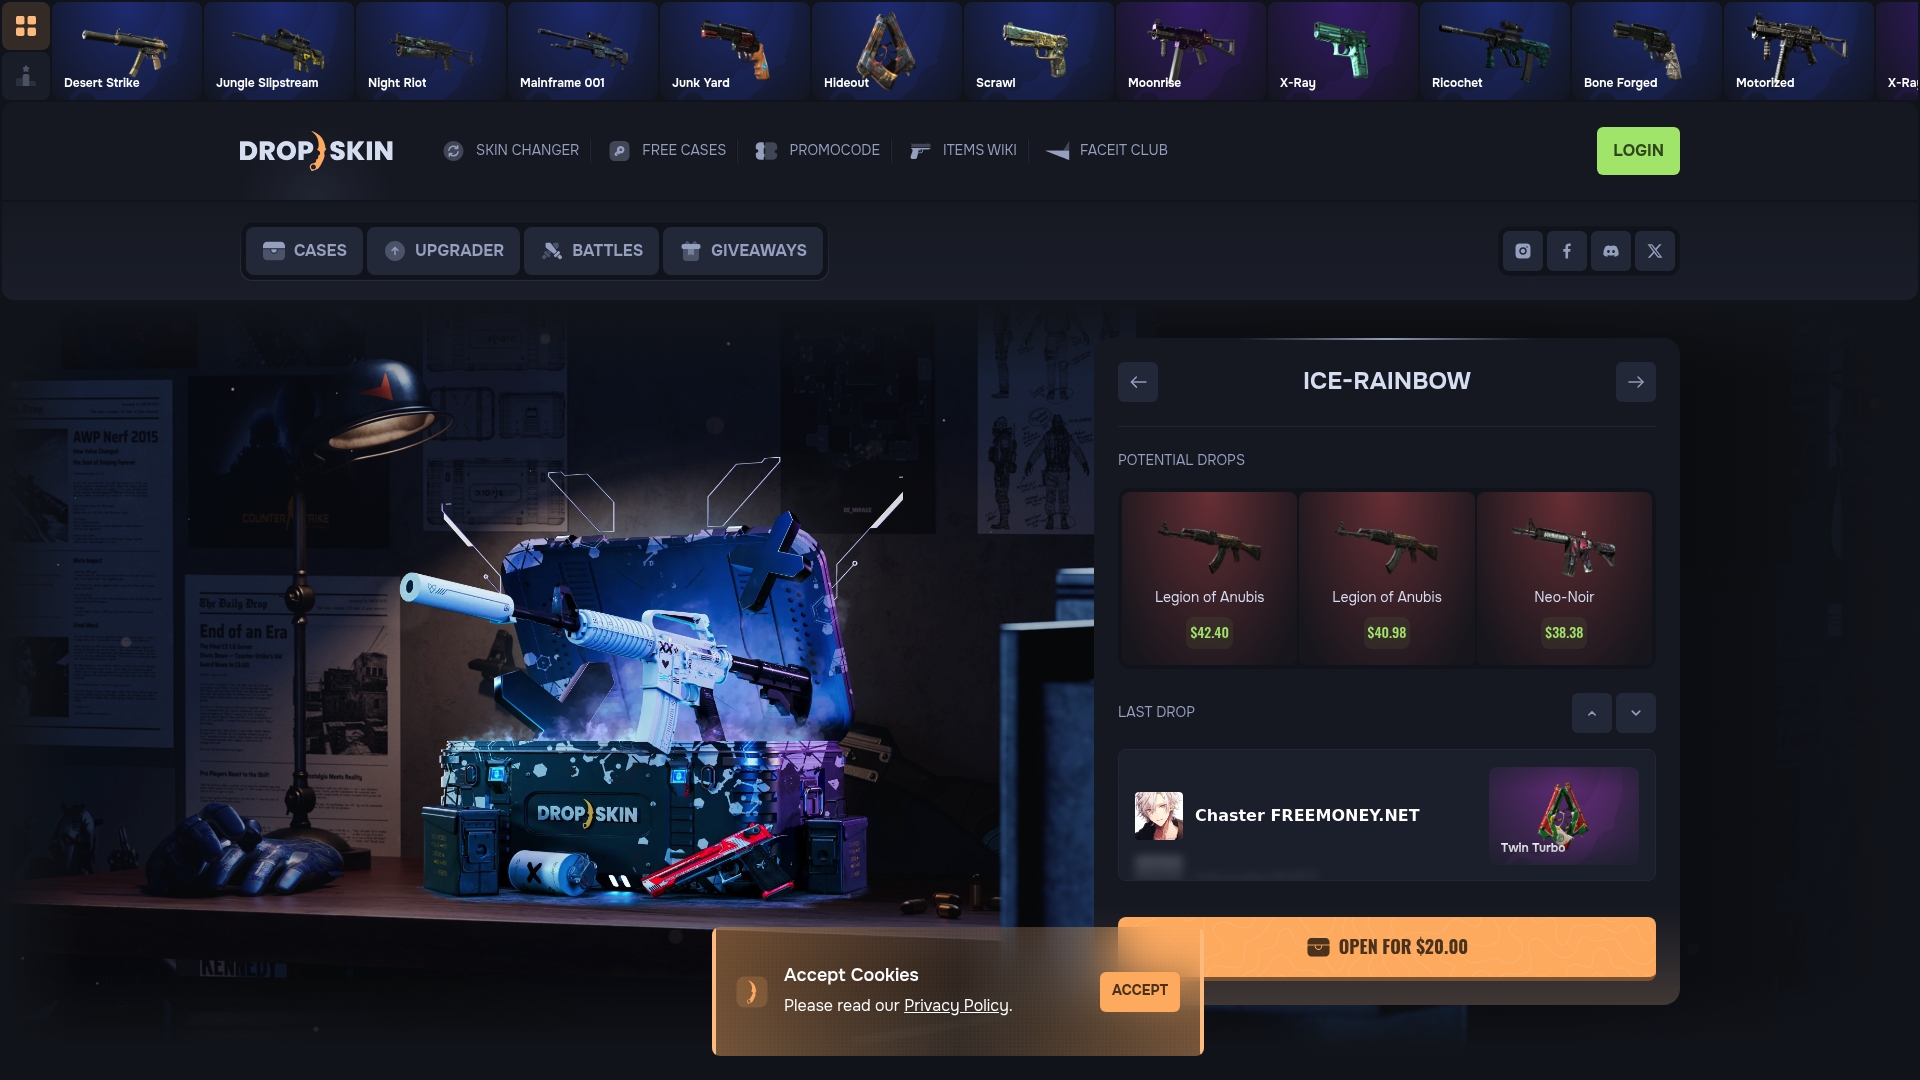
Experience a unique blend of skin trading and upgrade opportunities that let you stake your skins in custom matches and upgrade rounds designed to increase your returns. Whether you want to carefully manage upgrade settings, verify your new skins with confidence, or explore a wide collection of cases, Dropskin.com provides the tools and community support you need. Don’t let the uncertainty of trade-up contracts and probability indicators hold you back. Start upgrading smarter and faster by visiting Dropskin.com today and turn your skin trading vision into reality.
Frequently Asked Questions
How do I set up my Counter-Strike account for skin upgrades?
To set up your Counter-Strike account for skin upgrades, log into your Steam account and access your CS2 inventory. Review and organize your current skins by rarity and condition to ensure you have a solid foundation for trade-up contracts.
What factors should I consider when selecting skins for upgrades?
When selecting skins for upgrades, evaluate their rarity, market value, and wear levels. Look for skins that not only match your personal style but also have the potential for a high return on investment based on their current market trends.
How can I configure the best settings for my skin upgrades?
To configure the best settings for your skin upgrades, choose a reliable platform that offers transparent probability indicators and favorable fee structures. Always compare success rates and platform reputations to maximize your chances of successful upgrades.
What steps should I follow to initiate a skin upgrade?
To initiate a skin upgrade, verify your Steam account connection and ensure your balance meets the minimum requirements. Select the specific skins for the upgrade and confirm the upgrade probability percentage before placing your stake.
How do I verify the results after a skin upgrade attempt?
After a skin upgrade attempt, carefully inspect the incoming trade offer to verify the details of the new skin. Check the wear level and condition to ensure they match your expectations, and promptly review your transaction history to track the upgrade process.
What is the best way to document my skin upgrade transactions?
The best way to document your skin upgrade transactions is to take screenshots of each upgrade attempt and store them in a dedicated folder. This practice allows you to maintain a comprehensive record and analyze your upgrading strategy over time.