TL;DR:
- A skin loadout in CS2 is a personalized set of weapon skins, stickers, and accessories assigned to each weapon slot. Building a cohesive loadout begins with an anchor item, a defined color palette, and planning in a simulator before purchasing. Experts recommend using tools like TAKE.SKIN to visualize and avoid costly mistakes prior to buying.
A skin loadout is the set of weapon skins, stickers, and accessories you assign to each weapon slot in CS2 or CS:GO, creating a personalized visual identity every time you play. Knowing how to customize skin loadouts goes beyond picking your favorite colors. It means building a cohesive theme, applying stickers with purpose, and using the right tools to plan before you spend. This guide covers everything from the in-game loadout editor and third-party simulators like TAKE.SKIN to expert sticker placement strategies that separate polished inventories from random collections.
How to customize skin loadouts: tools and prerequisites
The CS2 loadout system limits players to 15 weapon slots, covering pistols, rifles, mid-tier weapons, and specialty items. You edit loadouts from the main menu, not during a live match. That timing constraint matters more than most players realize. If you want to swap a skin before a competitive session, you need to plan ahead.
Before you start customizing loadout skins, you need three things in place:
- Owned inventory. You can only assign skins you already own. Borrowed or marketplace items need to be purchased first.
- Sticker knowledge. CS2 sticker finishes include Paper, Foil, Glitter, Holo, Embroidered, and Gold. Each finish changes how the sticker looks on the weapon surface, so understanding them before applying is critical.
- A planning tool. The in-game editor shows what you own but does not let you simulate combinations or estimate total cost. Third-party simulators fill that gap.
TAKE.SKIN is the most widely used loadout builder for CS2. It lets you filter skins by price, color, and wear condition, then shows a running total including sticker costs. The Dropskin skin database is another strong resource for checking prices and comparing skin options before committing to a purchase.
Pro Tip: Before opening the in-game editor, build your full loadout in a simulator first. You will catch expensive mistakes before they cost real money.
How do you select and arrange skins for a cohesive loadout?
The most effective skin loadout setup starts with one anchor item, typically your knife or gloves. Every other skin in the loadout should reference that anchor's color or theme. This is how experienced players maintain visual consistency across 15 weapon slots without the loadout looking accidental.
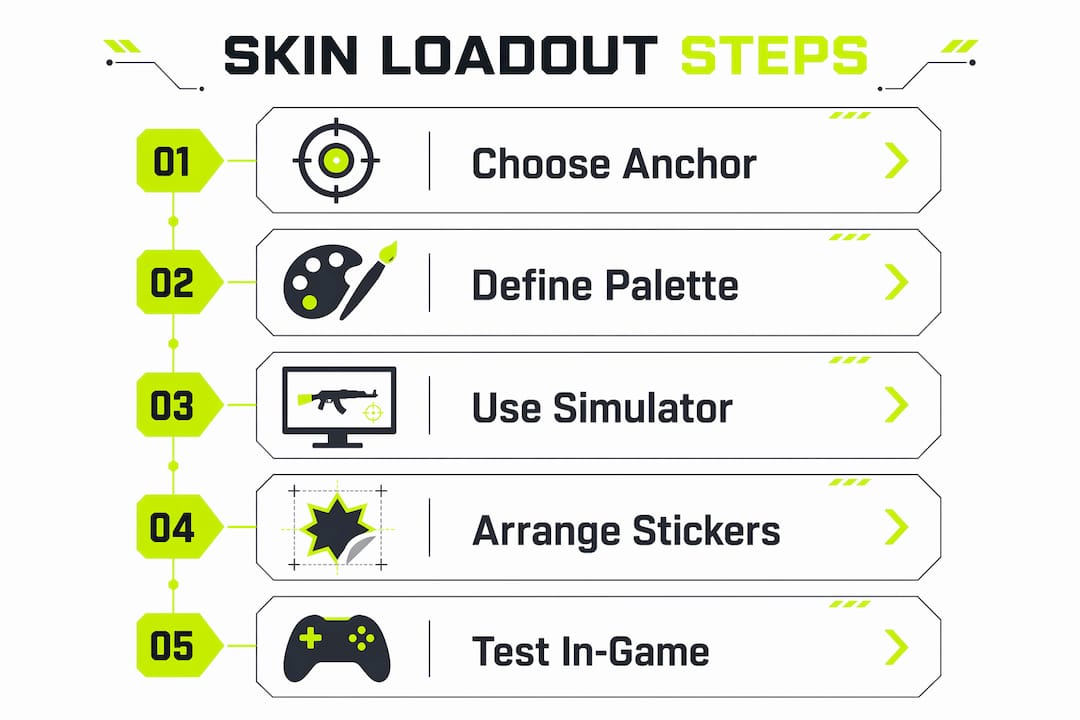
Building a themed loadout follows a clear sequence:
- Choose your anchor. Pick your knife or gloves first. This item appears most often in gameplay and sets the tone for everything else.
- Define a color palette. Limit yourself to two or three dominant colors drawn from the anchor skin. A blue and gold knife, for example, points toward skins like the AK-47 Vulcan or the M4A4 Howl.
- Select weapon skins by priority. Fill your most-used weapons first: rifles, then pistols, then secondary slots. Spend your budget where you will see the skin most often.
- Apply stickers for color correction. When a perfect matching skin does not exist, stickers bridge the gap. A red sticker on a neutral skin can pull it into a red-themed loadout convincingly.
- Check wear and float values. Factory New skins look pristine but cost significantly more. Field-Tested skins often look nearly identical in-game at a fraction of the price. Match your wear tier to your budget, not just your aesthetic preference.
- Preview the full loadout before buying. Run the complete configuration in TAKE.SKIN or a similar simulator to see how every slot looks together.
Pro Tip: Sticker placement on the playside of the weapon gets the most visibility during gameplay. Inspect-view placement matters for screenshots and trading, but playside placement is what you actually see in a match.
The table below shows how skin finish types affect both appearance and cost, which directly shapes your loadout customization decisions.
| Finish type | Visual effect | Cost impact |
|---|---|---|
| Anodized / Metallic | Clean, solid color | Moderate |
| Hydrographic | Painted pattern over metal | Low to moderate |
| Custom Paint Job | Detailed artwork | High |
| Gunsmith | Modular parts with mixed finishes | Variable |
Knowing which finish type dominates your anchor skin helps you pick complementary skins that feel intentional rather than mismatched.
What are the best simulators for planning your loadout?
Third-party simulators are the most underused tool in skin loadout guides. The in-game editor shows your current inventory. Simulators show what your inventory could look like, including skins you have not bought yet, with real-time pricing.
TAKE.SKIN aggregates Steam Market prices alongside trusted third-party market prices, letting you compare costs dynamically. That means you can switch a skin from Factory New to Field-Tested and immediately see the price difference without leaving the simulator. Experienced crafters use this feature to model exact float values and include sticker costs before purchasing, which prevents budget overruns on complex loadouts.
The practical workflow in TAKE.SKIN runs like this:
- Open the simulator and select your weapon category.
- Set a maximum price filter to stay within budget.
- Choose a wear condition filter (Factory New, Minimal Wear, Field-Tested, etc.).
- Add stickers to each skin and watch the combined craft price update in real time.
- Save your completed configuration as a shareable URL to send to friends or post in community forums.
- Compare two or three loadout variations side by side before making any purchases.
For players who want to go further, tools like CS2-Skin-Styler-2026 on GitHub support rotation calendars and automated loadout scheduling with AI integration. These are unofficial and community-built, so use them with appropriate caution. They are best suited for players managing large inventories who want to rotate themes by day or game mode.
The Dropskin skin changer offers another practical layer for players who want to trade or exchange skins as part of managing their loadout over time.
| Simulator feature | In-game editor | TAKE.SKIN |
|---|---|---|
| View owned skins | Yes | Yes (via Steam import) |
| Plan unowned skins | No | Yes |
| Real-time price tracking | No | Yes |
| Sticker cost calculation | No | Yes |
| Shareable loadout URL | No | Yes |
What mistakes should you avoid when customizing skin loadouts?
Most loadout customization errors fall into one of two categories: irreversible mistakes and budget mistakes. Both are avoidable with the right habits.
- Scraping stickers without previewing. Sticker scraping is permanent. Once you confirm a scrape, the sticker is gone or degraded forever. Preview the weapon after every single scrape step and stop before the final confirmation if you want to keep the sticker intact.
- Skipping the simulator. Buying skins directly without simulating the full loadout first leads to color clashes and wasted money. Always build in a simulator before purchasing.
- Filling every slot with expensive skins. The CS2 loadout system includes slots for weapons you may rarely use. Spending heavily on a Negev skin when you almost never buy a Negev is a poor use of your budget.
- Ignoring wear costs. Factory New skins can cost three to five times more than Field-Tested versions of the same skin. In most cases, the difference is invisible during a match.
- Using unsupported third-party tools. Some unofficial loadout managers have limited support and may break after CS2 updates. Stick to well-maintained tools with active communities.
Sticker scraping is irreversible. Preview after every step. Stop before the final confirmation if you want the sticker to stay.
Pro Tip: Place your most expensive stickers in the first one or two slots for maximum visibility. Slot placement affects visual hierarchy, and cheaper stickers or blanks in the remaining slots still complete the craft without inflating cost.
Key Takeaways
Customizing skin loadouts in CS2 requires an anchor item, a defined color palette, and a simulator-based planning workflow before any money changes hands.
| Point | Details |
|---|---|
| Start with an anchor item | Choose your knife or gloves first to set the color theme for all other weapon slots. |
| Use a simulator before buying | Tools like TAKE.SKIN show real-time prices and sticker costs before you commit to purchases. |
| Match wear to budget | Field-Tested skins often look nearly identical to Factory New in-game at a much lower price. |
| Sticker placement is strategic | Put your most expensive stickers in the first two slots for the best visibility and perceived quality. |
| Scraping is irreversible | Preview after every scrape step and stop before confirming if you want to preserve the sticker. |
Dropskin's take on building loadouts that actually hold up
Most players treat skin loadouts as impulse purchases. They buy a skin they like, add a sticker they found cheap, and call it done. The result is an inventory that looks random rather than intentional. The players whose loadouts get noticed in community screenshots and trade discussions almost always started with a single anchor item and built outward from there.
The part most guides skip is patience. A strong loadout is not built in one session. You find your knife, sit with it for a few weeks, and let the right rifle skins surface at the right price. Rushing the process leads to regret purchases and sticker scraping mistakes that cannot be undone.
Sticker placement is also where most players leave quality on the table. Symmetrical spacing, readable logos, and intentional sticker combinations are what separate a craft that looks deliberate from one that looks accidental. Spending an extra ten minutes in a simulator testing sticker positions costs nothing and changes everything about how the final weapon looks.
The practical advice: build your loadout in TAKE.SKIN first, share the URL with someone whose taste you trust, and only buy after you have slept on the configuration. That single habit eliminates most of the expensive mistakes players make when personalizing skin preferences.
— Dropskin
Dropskin's platform for building your CS2 loadout
Players ready to put their loadout plan into action need more than a simulator. They need access to skins at the right price.
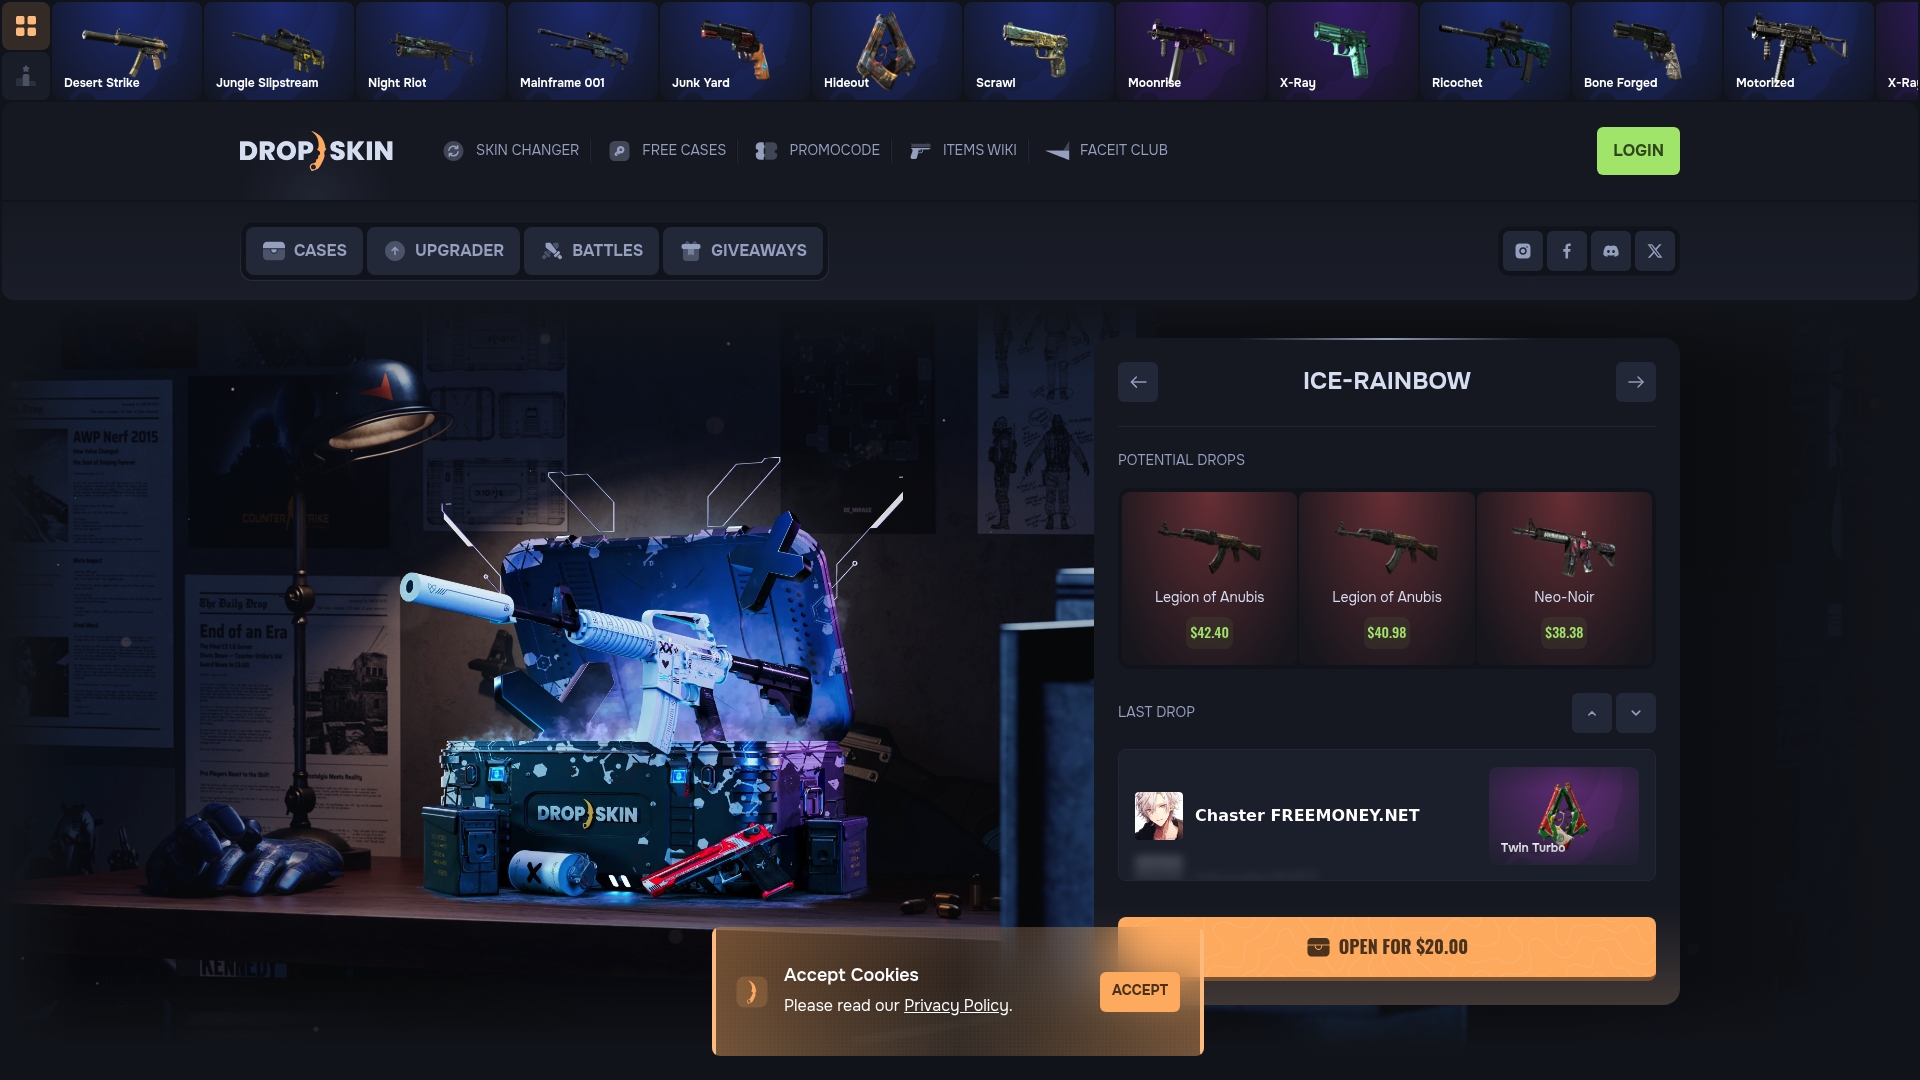
Dropskin offers case openings, a skin upgrader, and skin changers that give you practical ways to acquire and improve skins without paying full Steam Market prices. The platform is built for CS2 and CS:GO players who want to build real inventories through case battles, upgrades, and trades rather than outright purchases. Dropskin also runs regular giveaways and promocodes that reduce the cost of building out a full loadout. If you have a simulator configuration ready and need the actual skins to match it, Dropskin's platform is the logical next step.
FAQ
What is a skin loadout in CS2?
A skin loadout is the collection of weapon skins and stickers you assign to each weapon slot in CS2 or CS:GO. The CS2 loadout system supports up to 15 weapon slots, edited from the main menu between matches.
Can you change skins during a match?
No. Loadout changes in CS2 take effect only between matches. You must edit your loadout from the main menu before a game session starts.
What is the best way to plan a skin loadout without spending money first?
Use a third-party simulator like TAKE.SKIN to build and preview your full loadout, including sticker costs and wear conditions, before making any purchases.
Are sticker finishes permanent once applied?
Stickers can be scraped off, but scraping is irreversible. Each scrape step degrades or removes the sticker permanently, so preview carefully before confirming.
How do you build a color-themed loadout in CS2?
Start with an anchor item like a knife or gloves, define a two or three color palette from that item, and select weapon skins that match. Use stickers for color correction when a perfectly matching skin is not available or is outside your budget.